There are at
least 3 methods you could use to animate hair
using HyperMatter, in progressively slower
degrees…
The easiest, and the fastest, would
be to create ‘chunky’ hair; modelled in
such a way that there are no separate strands,
just a solid, but textured ‘hairpiece’.
The next fastest, would be to save separate
strands as one MAX object, so that HyperMatter
then treats the whole mass as one
‘lump’, but the strands still appear to
move separately, although they actually
don’t.
The third, and most hideously slow, but
ultra-realistic, would be to make separate
strands, and then apply HyperMatter to each
strand INDIVIDUALLY, giving them all the ability
to bump into each other, etc., but without
massive processing power, this would probably
take until the next millennium to get anything
worthwhile (see below)…
The first step would
be to make a mesh object in Max, comprising of as
many strands of hair as your memory will allow.
Obviously the more strands you have, the more
convincing the effect, unless you specifically
wanted less.
Dreadlocks or other thick hairstyles
would be perfect, as you could actually apply
HyperMatter to each individual piece; the
structure being relatively few items all with a
fairly large surface area.
Simple long, thin cylinder objects, bent in a few
places, and copied as references and copies, will
soon create a fairly convincing head of hair in
the short term; advanced modeling tools designed
either to create hair specifically, or other kind
of sinuous objects would be better for
high-quality work involving close-ups.
Also remember, if you
were working close-in, say for a shampoo ad that
went amongst the strands that you could again
apply HyperMatter to individual strands; just the
ones involved in the action will do, and matte
them over shots of other strands.
The most important
thing to remember is that as you are effectively
using real physics to describe an incredibly
hard-to-model substance, memory and performance
issues are very important. HyperMatter is very
processor-intensive, and you really need to aim
for the minimum resolution needed to do the job,
as it can often be surprisingly low to produce
excellent results.
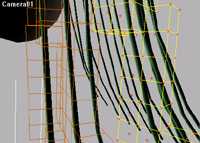
So, assuming we are
using the second method to produce a fast,
workable demo of hair in action, you would now
attach all the separate strands together to
produce one MAX object, with its pivot point
located at the centre-top, where it would
naturally attach to the head. A simple head
object will be added with rotation keys in place,
which will cause the head to rock back and forth,
rotating to make the hair swing around when it is
attached.
The first stage of
applying HyperMatter, certainly one where
momentum and ‘flow’ is concerned, is
figuring where the centers of mass are for
objects, where you want them to swing from, etc.
A little planning beforehand will enable you save
time experimenting later.
So, once your head of
hair is aligned and ready, you would make sure
the hair mesh object is selected, hit the Create
tab, and bring up the Second Nature entry in the
Geometry drop-down list. There are three buttons
available, HyperMatter, Walls and Record, which
is greyed-out.
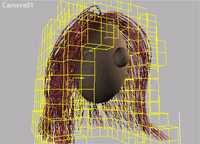
Select HyperMatter. The Automatic Solids panel
appears with a button named Solidify Object, and
a resolution spinner. This sets the resolution of
the HyperMatter cubic mesh that will be applied
to the Geometry. There are also 3 radio buttons
labelled, X, Y, and Z Fit; these aim to produce
the closest fit of the mesh around the geometry,
and you would try all the options first to see
which one is the most pleasing.
When you hit Solidify
Object, the HyperMatter mesh appears around the
object (If the object is not interacting with any
other HyperMatter objects, you could reduce the
resolution to much lower values for test work,
and then turn it back up for rendering).
The hair
is now subject to physical laws, and as such,
will instantly respond to the default gravity
settings, by falling out of view when Play
Animation is hit. A new HyperMatter object always
has a negative Z force applied at creation, to
simulate gravity.
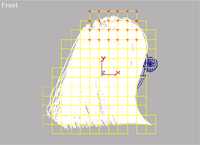
|
We don’t need
gravity in this particular scene, as the hair
will be attached to the head, and swinging a lot,
so we can disable this in the Forces rollout by
changing the default value of -100 in the Z
direction to zero. The hair object will now
remain in place.
Because
HyperMatter takes over the objects’ position
and rotation data when it becomes active, you now
need to use HyperMatter Constraints to impart
motion to the object. Constraints are physical
controls which allow you to manipulate an object
using real-world concepts.
In this example, you
want the hair to be attached to the head, and use
the head’s motion to create the swinging
hair. The ideal constraint to use in this case is
Follow, where a HM object, or part of an object
is constrained to follow another MAX object.
HyperMatter allows
areas of the mesh to be selected and named, and
then individual or multiple constraints can be
added to each part, giving total control over the
object’s movement. We need the hair to be
anchored down the centre parting to look natural
(at least for this hairstyle, anyway).
Make a
small selection set of the mesh vertically down
the parting line to about the middle of the
forehead. This makes an ‘anchor’ for
the hair, so that it doesn’t slip around.
The Follow constraint
has different options for operation, ‘Whole
Part’ means the selected area will follow
the object, but is free to rotate locally with
momentum. ‘Each Point’ means that every
point of the selected area of the mesh will
follow EXACTLY the movement of the object it is
following.
This is the option we need for the
hair; otherwise it would revolve like a comedy
wig, as the head rotated.
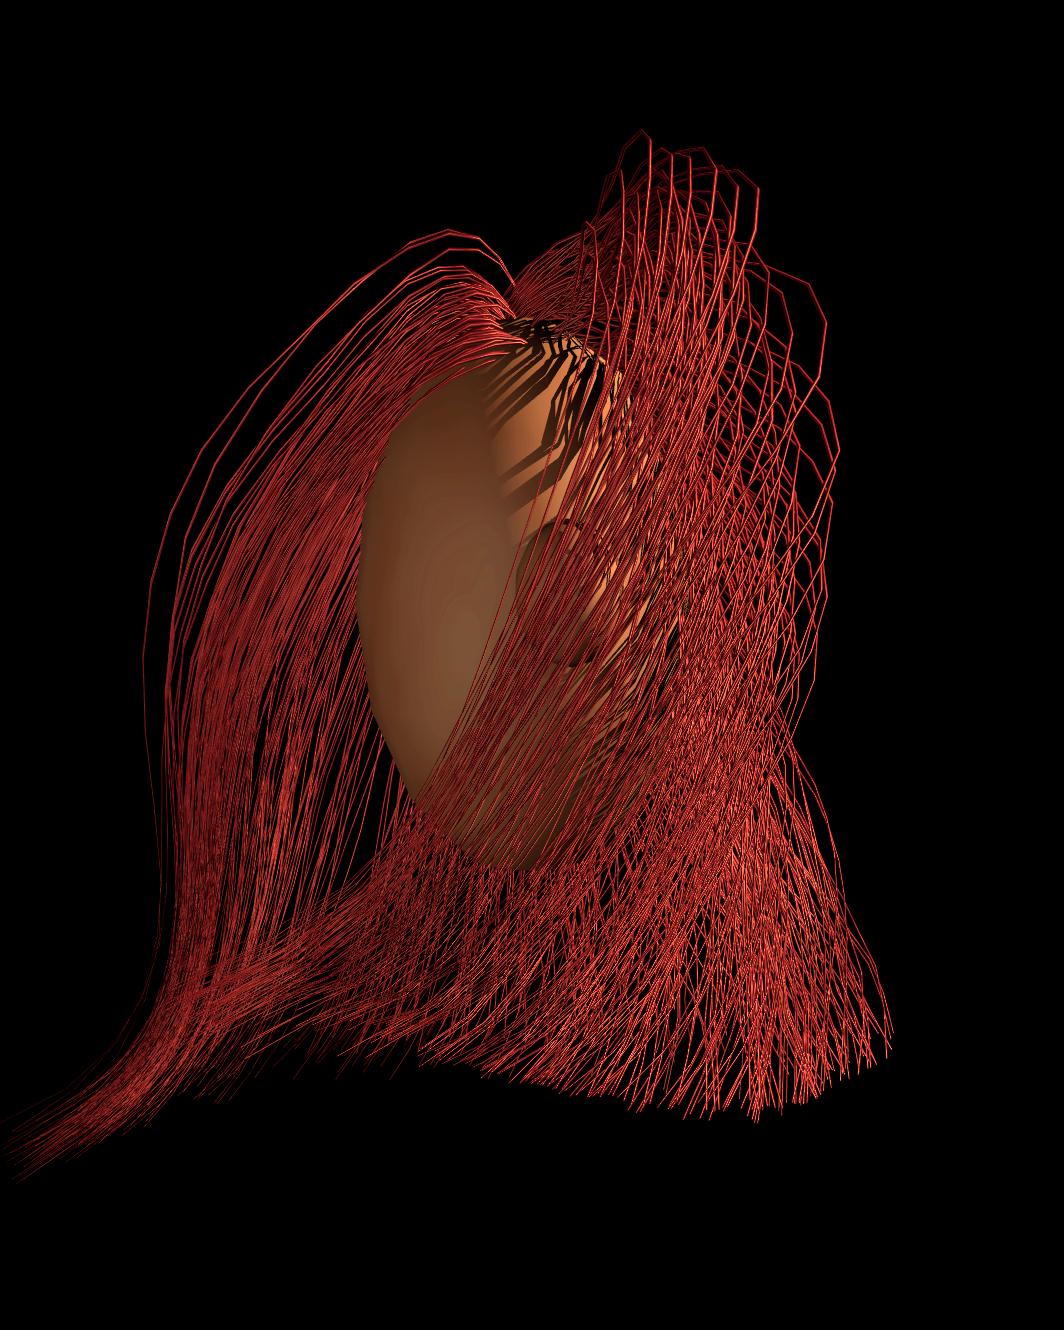
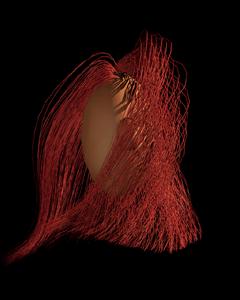
When you hit Play now,
the hair will rotate with the head, at the point
where you applied the constraint. As the rest of
the hair is NOT constrained to follow the
head’s movement, it will swing freely under
it’s own momentum, producing that beautiful
‘Just Dried’ shot that we know and love
so much from the TV…
Click on the
image below for a high-resolution version (200K)
The most difficult
part in a tutorial of this nature is suggesting
what the Substance settings should be. Because an
object’s parameters are so dependent on the
shape and volume of the geometry you are
Solidifying, and also the type of movement you
want from your animation, it is impossible to
suggest particular numbers.
Different values will
give different effects, like wildly stretchy
hair, or really stiff wobbly hair depending on
how you enter them.
One thing that would
probably be common to all would be fairly high
Damping values.
Damping is the ability of a
Substance to return to it’s original shape
after it has been deformed; high damping means it
will tend to stop fairly quickly after the force
ends; low damping would leave it swinging for a
long time.
The only foreseeable
drawback ahead is speed of playback; because you
are solidifying what could be a very high
polygon-count object, HyperMatter will probably
get rather slow.
In this sense
it’s almost a victim of its own accuracy;
because it literally is real physics involved,
any objects that tend towards high-detail
volume-shifting stuff or liquids will always be
slow because there are so many calculations to
deal with.
However, you can use a low-res
geometry object with the Geometry Manager, and
then swap it with a high-res object for
rendering, after you have adjusted all the basic
movement, which would drastically improve
performance.
Happy Styling!
Big thanks to James
Biebl of Gaviota Graphics for the inspiration and
original scene files for this tutorial.


|